Storage providers
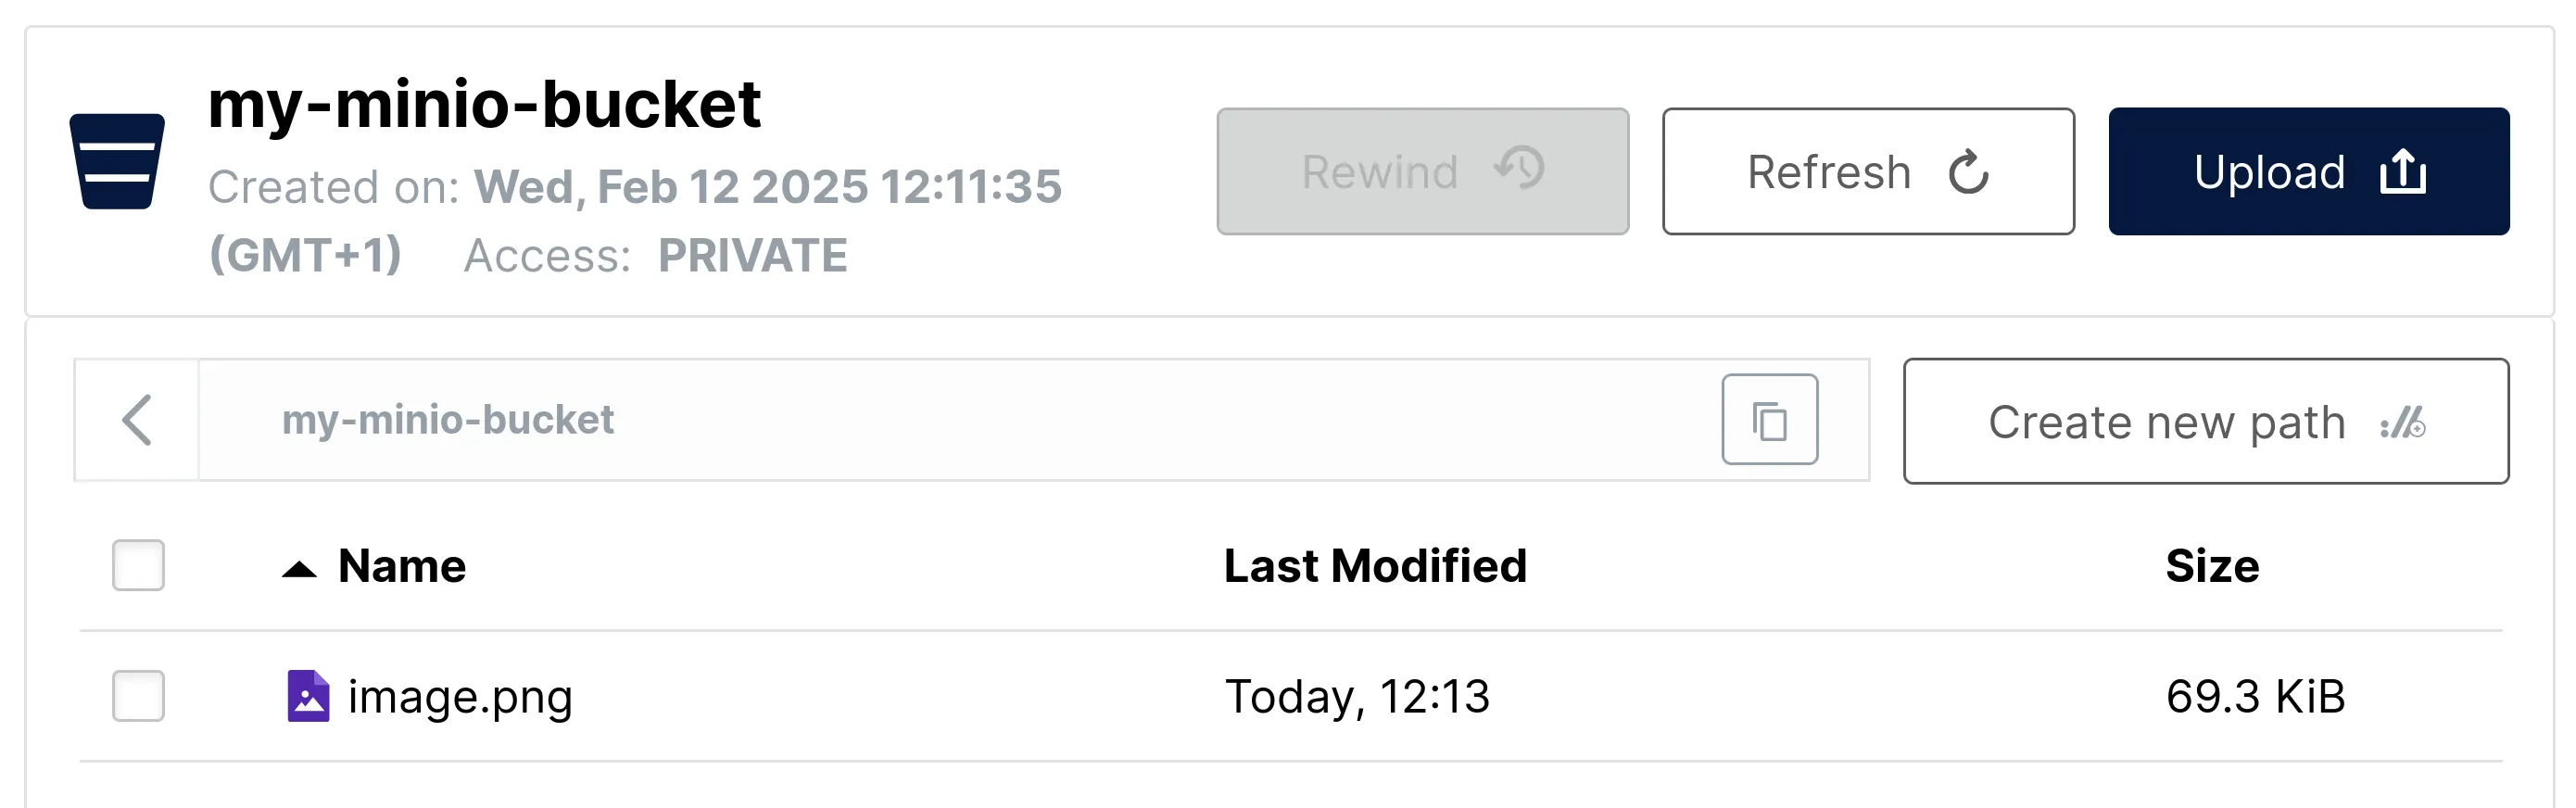
 You can now upload data into the bucket, either through the UI or with minio's
command line tool.
You can now upload data into the bucket, either through the UI or with minio's
command line tool.
By default, these have quite broad permissions. We recommend restricting the keys to a single bucket by specifying a custom JSON policy.
 This policy is for granting bucket-level read/write permissions. Do not forget
to edit the bucket name!
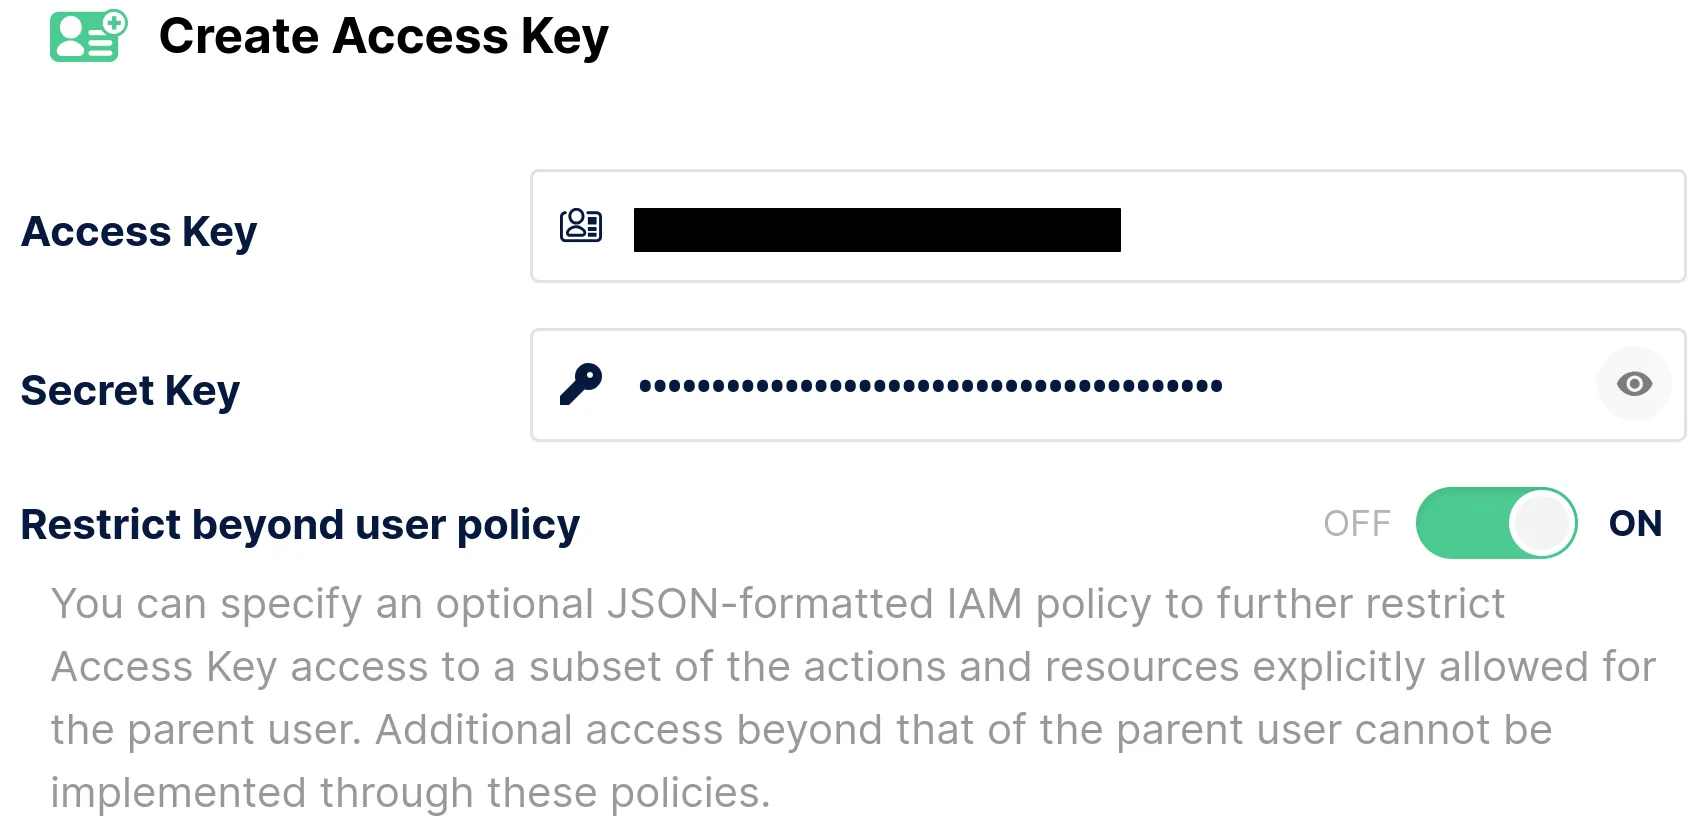
Remember to save your keys somehwere safe.
This policy is for granting bucket-level read/write permissions. Do not forget
to edit the bucket name!
Remember to save your keys somehwere safe.
To make your bucket available over the internet, you need to create a tunnel using tools like Cloudflare Tunnel or ngrok, and remember the endpoint URL.
MinIO
homepage
MinIO is the best solution we know of to self-host an S3-compatible object
storage. It supports Windows and MacOS (and more), but we will only cover
instructions for Linux here for brevity, although most of the information
still applies to other platforms anyway.
First of all follow the official installation instructions and start up
the server.
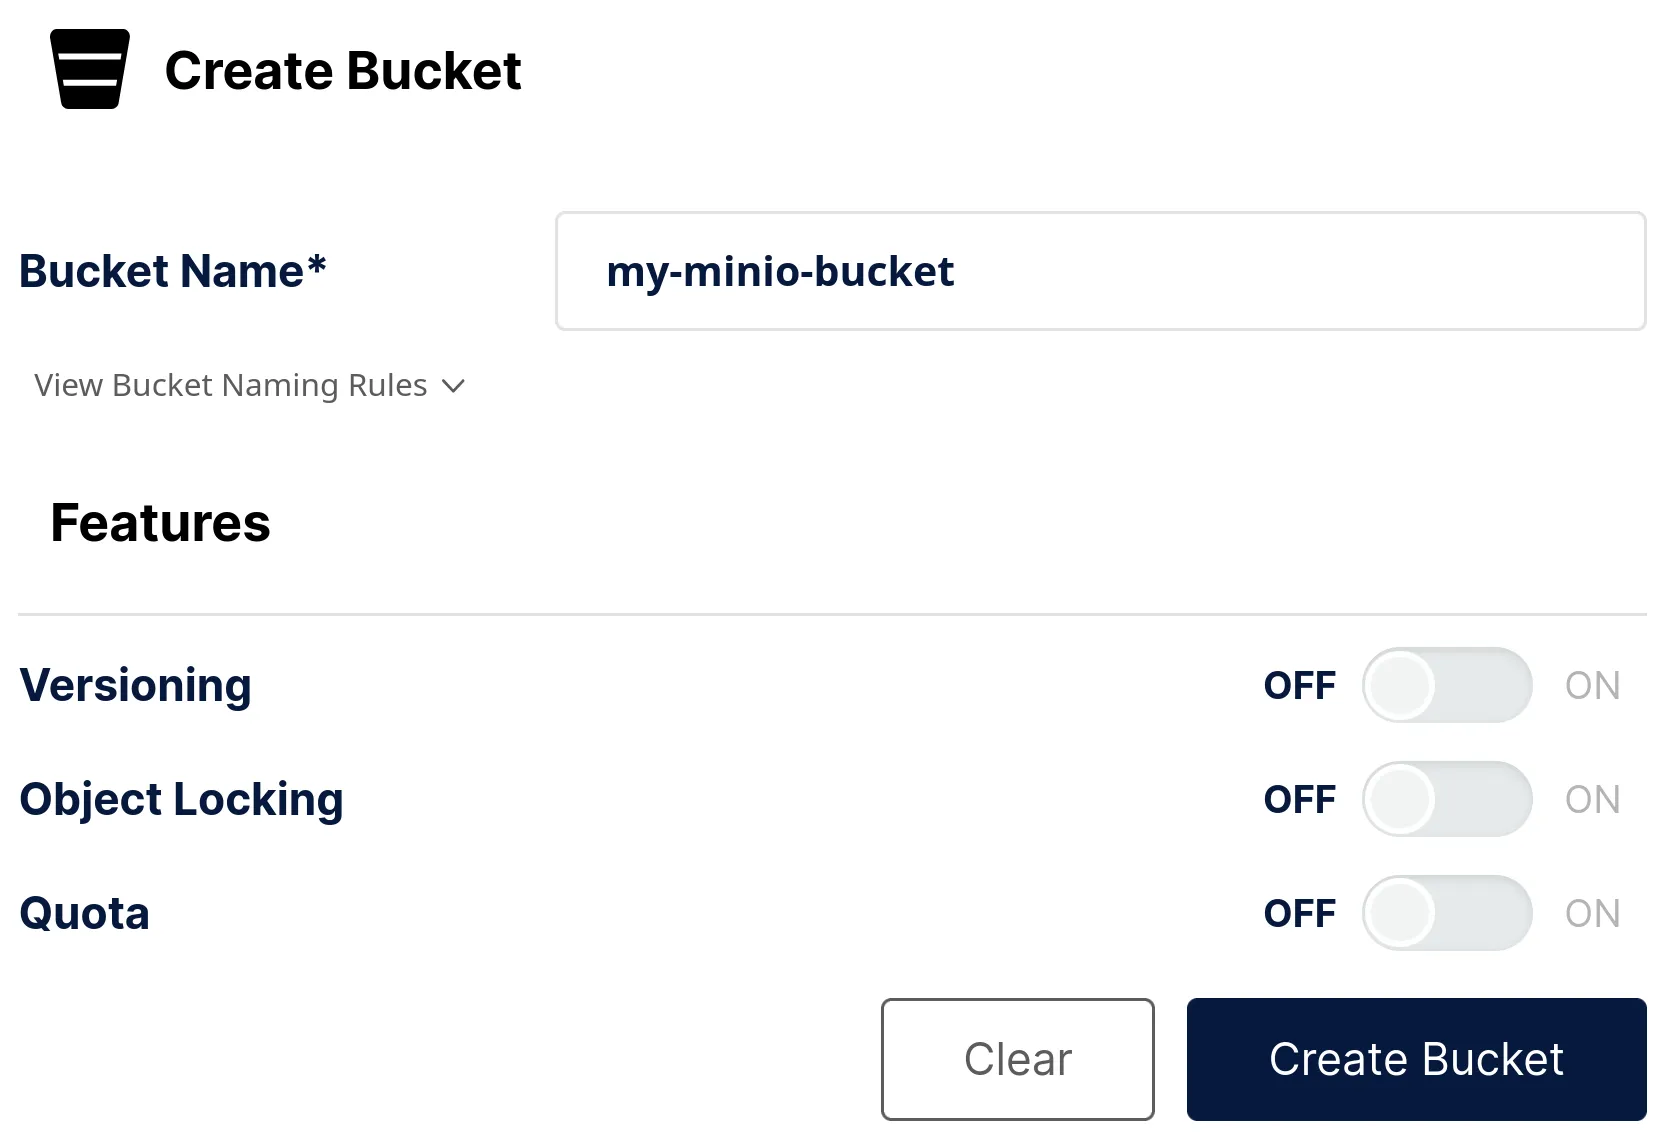
Create a bucket
Go to the Buckets or Object Browser tab and click on Create a Bucket. Give it a relevant name and leave all the features turned off.
You can now upload data into the bucket, either through the UI or with minio's
command line tool. Generate credentials
In the Access Keys tab, create a key pair. An access key and a private key will be generated for you.By default, these have quite broad permissions. We recommend restricting the keys to a single bucket by specifying a custom JSON policy.
This policy is for granting bucket-level read/write permissions. Do not forget
to edit the bucket name!
{
  "Version": "2012-10-17",
  "Statement": [
    {
      "Effect": "Allow",
      "Action": [
        "s3:GetObject",
        "s3:ListBucket",
        "s3:PutObject",
        "s3:DeleteObject"
      ],
      "Resource": [
        "arn:aws:s3:::<BUCKET NAME>",
        "arn:aws:s3:::<BUCKET NAME>/*"
      ]
    }
  ]
}To make your bucket available over the internet, you need to create a tunnel using tools like Cloudflare Tunnel or ngrok, and remember the endpoint URL.