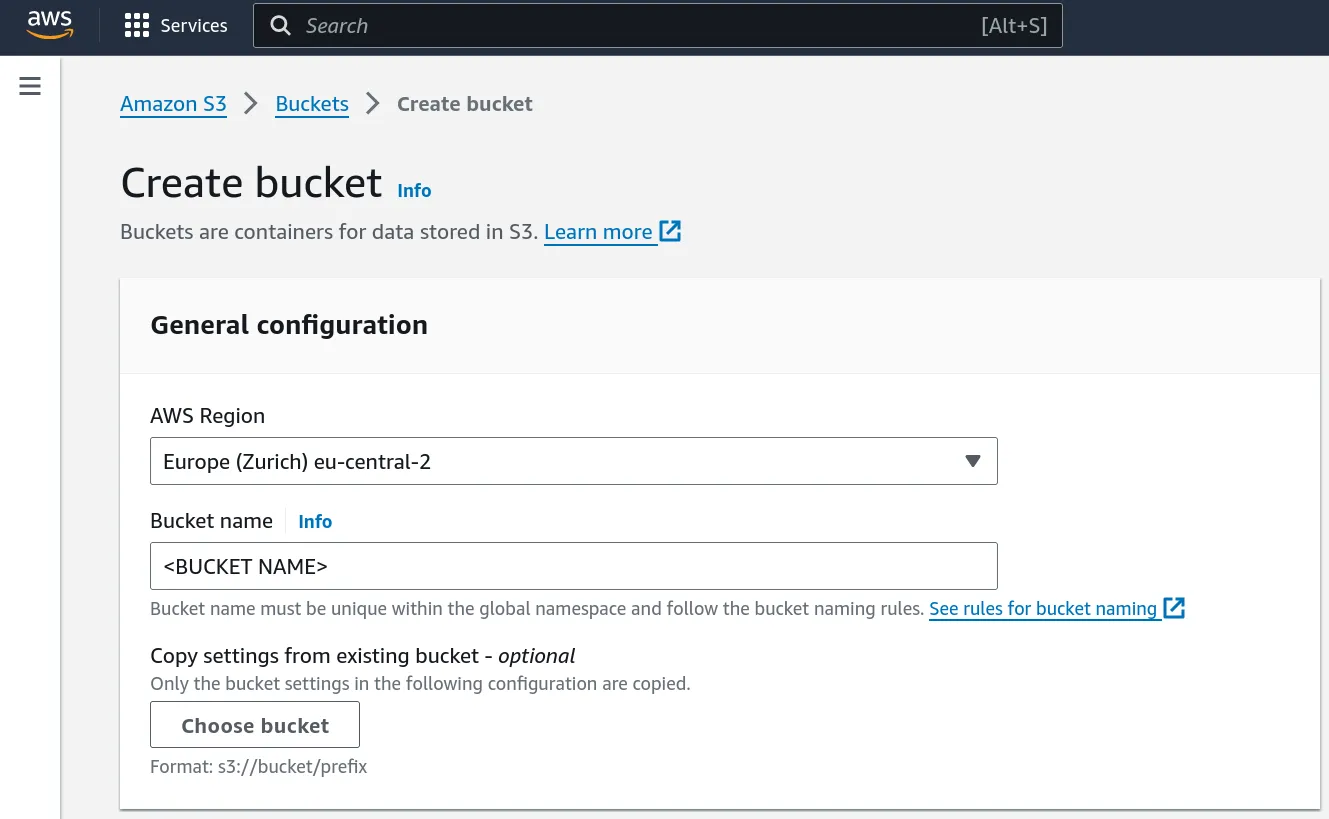
Create a bucket
Go to the S3 service and create a new bucket by clicking the orange button.Give your bucket a unique name, select a region, leave the rest to their defaults, and create the bucket.
Your bucket's endpoint URL will be https://s3.REGION_NAME.amazonaws.com (e.g. https://s3.eu-central-1.amazonaws.com).
In your bucket's page, you can drag-and-drop your data directly from the browser into the bucket (or click the "upload" button).
Attempting to upload too many files this way can freeze or crash your browser. To avoid that, consider using one of the other methods described in the dataset section. To upload (and delete) items using these, your keys will need write permissions.
Generate credentials
Go to the IAM service and navigate to the "Users" section on the left, under "Access Management", and create a new user by clicking the orange button in the top right.Give your new user a unique name and click next.
When prompted to set permissions, choose to "Attach policies directly", and click on "Create policy".
 In the policy editor, select the "JSON" option.
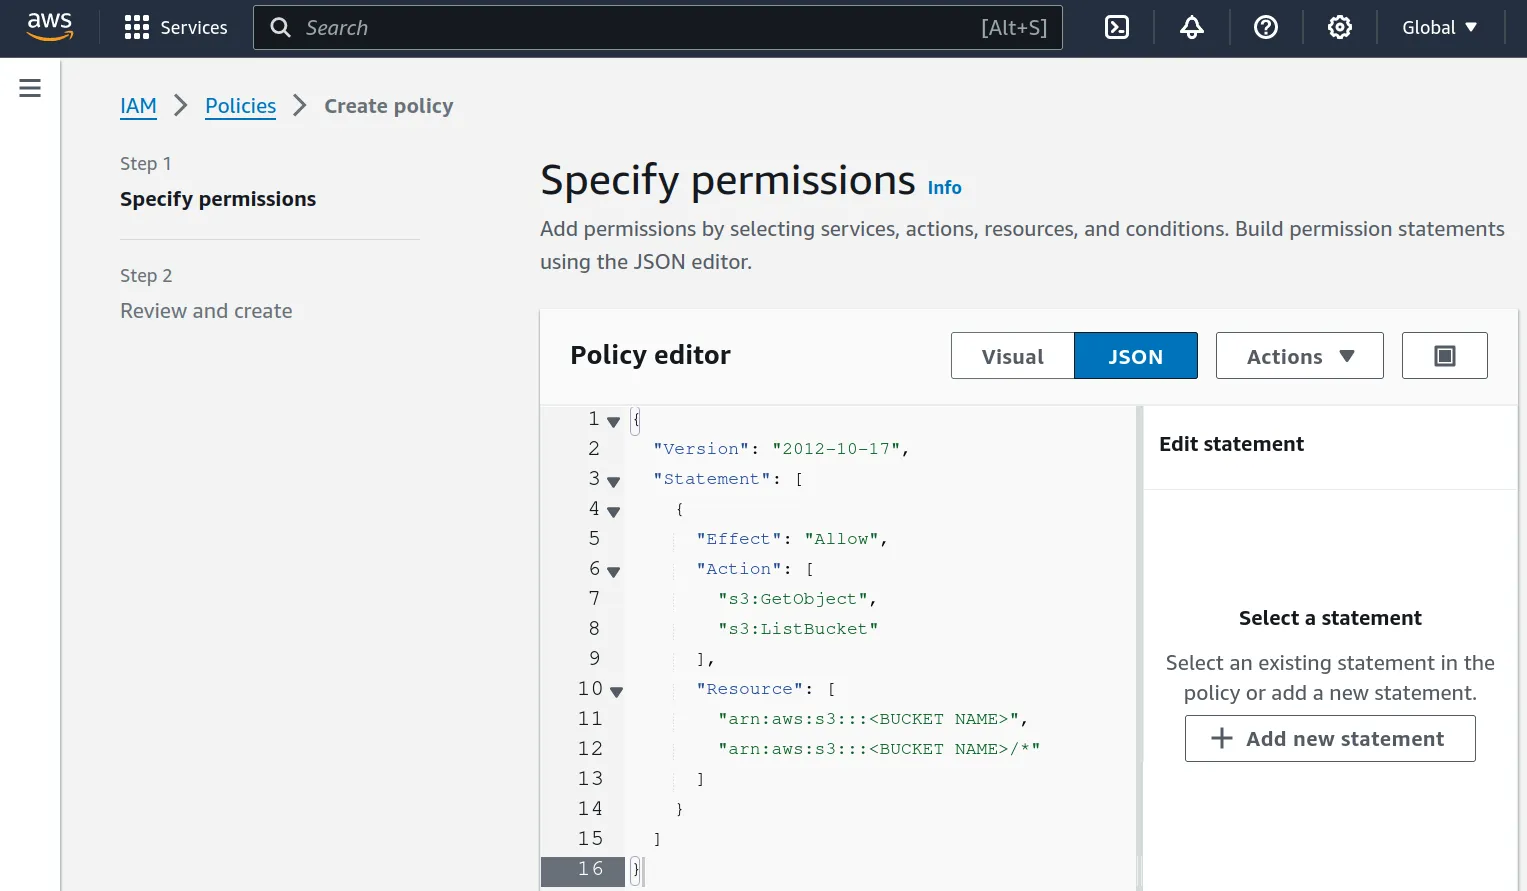 Paste the following policy, and remember to change "<BUCKET NAME>" the
actual name of your bucket.
Paste the following policy, and remember to change "<BUCKET NAME>" the
actual name of your bucket.
{
  "Version": "2012-10-17",
  "Statement": [
    {
      "Effect": "Allow",
      "Action": [
        "s3:GetObject",
        "s3:ListBucket",
        "s3:PutObject",
        "s3:DeleteObject"
      ],
      "Resource": [
        "arn:aws:s3:::<BUCKET NAME>",
        "arn:aws:s3:::<BUCKET NAME>/*"
      ]
    }
  ]
}Click next, give your policy a name, and create it.
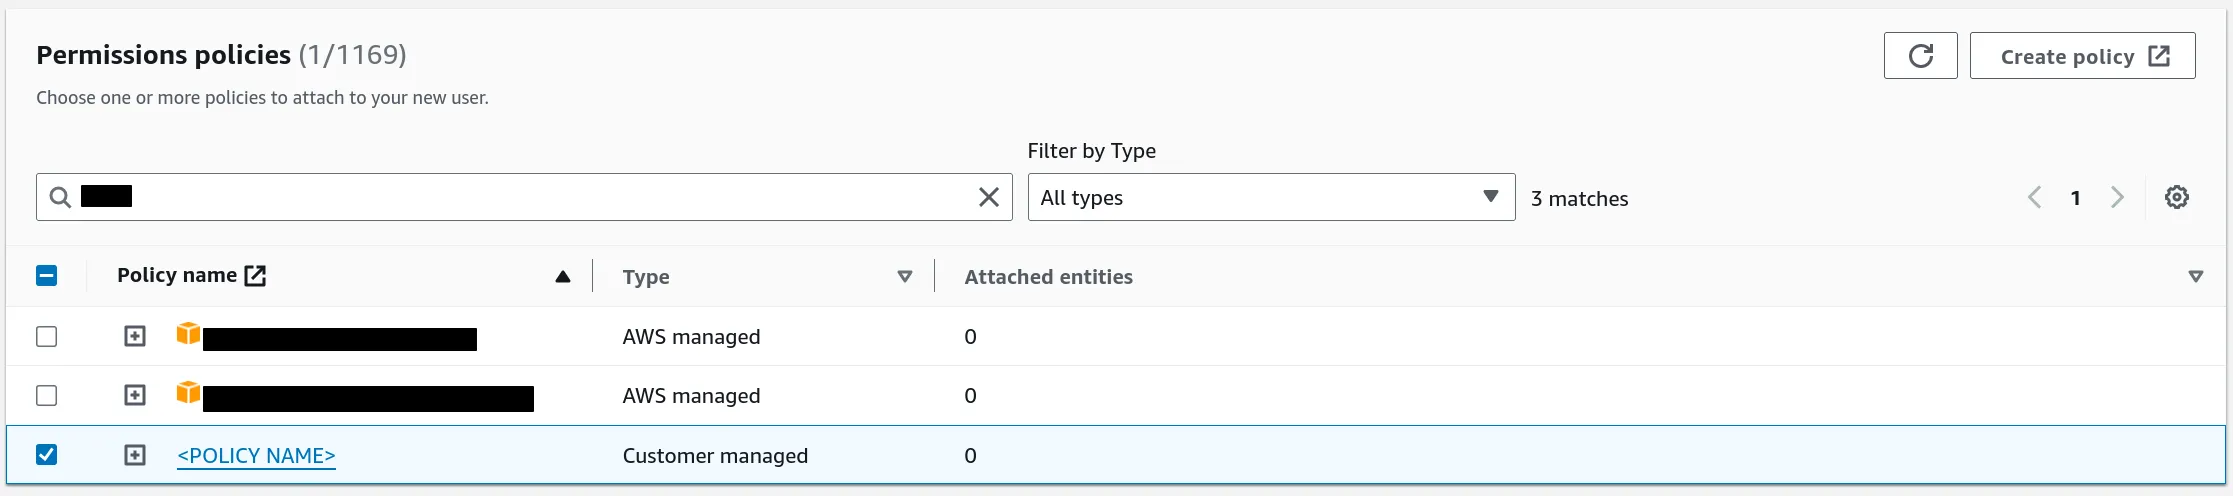
Go back to the "Set permissions" page, click on the refresh button to refresh the list of policies, and search for your newly created policy. Select it and click next.
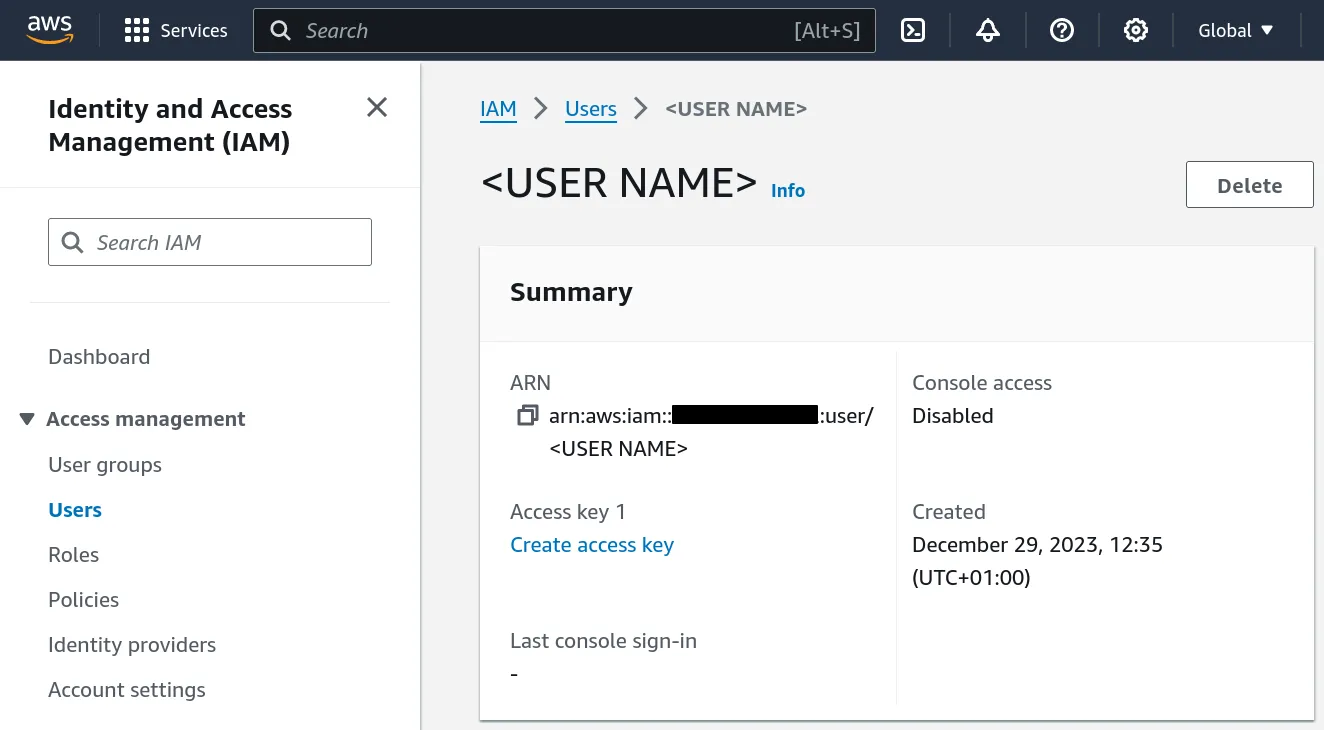
 Once the user is created, click on it, then click on the "Create access key"
link.
Once the user is created, click on it, then click on the "Create access key"
link.
 In the "Access key best practices" page, select "Application running outside
AWS" and click next. Optionally give your key a description and click "Create
access key".
In the "Access key best practices" page, select "Application running outside
AWS" and click next. Optionally give your key a description and click "Create
access key".
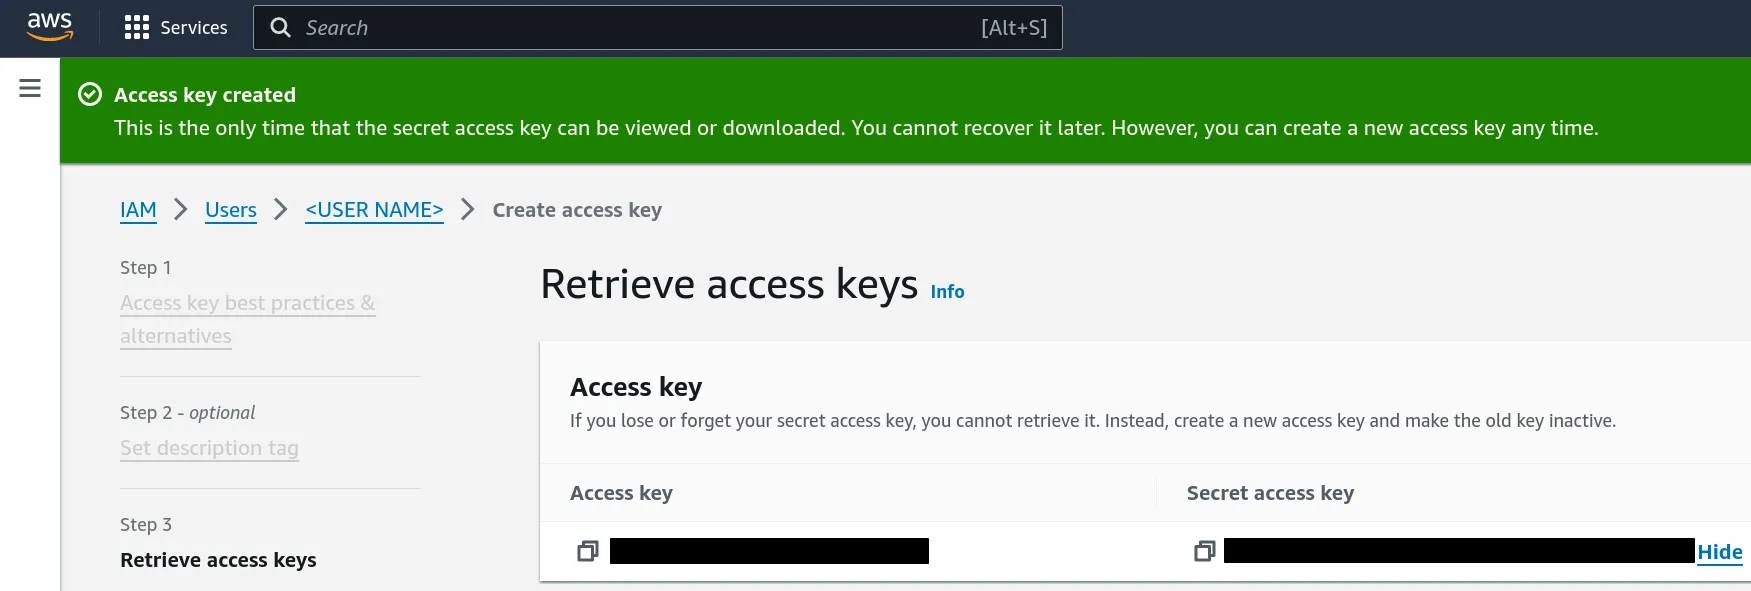 Write these keys down somewhere (or even better, save them in a password manager)
- as the warning says, the secret key will never be shown again once you leave
this page!
Write these keys down somewhere (or even better, save them in a password manager)
- as the warning says, the secret key will never be shown again once you leave
this page!