Create a bucket
Select your preferred GCP project using the button in the top left.You can also create a new GCP project (check out the official docs for more information) and select that.
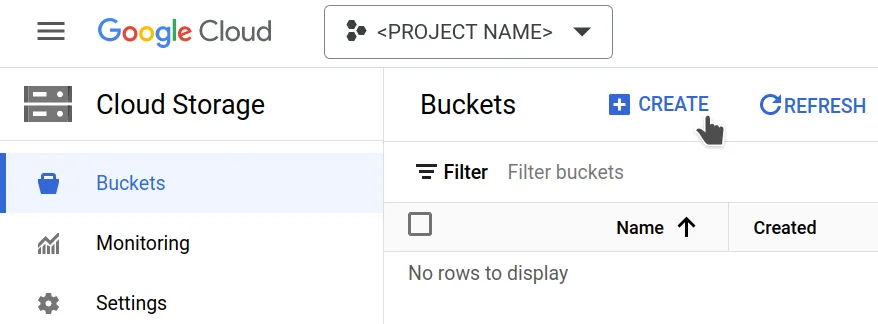
Go to the Cloud Storage service and create a new bucket.
 Give your bucket a unique name, optionally select a location, leave the rest
to their defaults, and create the bucket. The bucket's endpoint URL will be https://storage.googleapis.com.
Give your bucket a unique name, optionally select a location, leave the rest
to their defaults, and create the bucket. The bucket's endpoint URL will be https://storage.googleapis.com.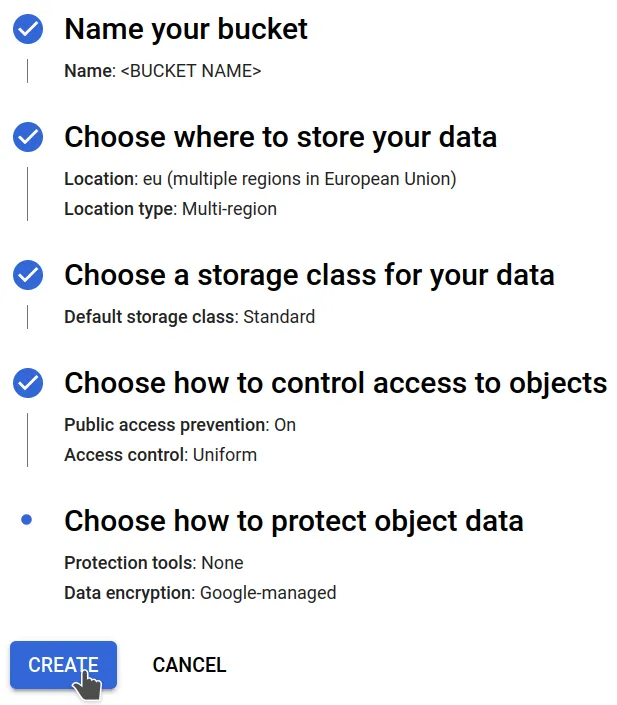 If you are asked to "enforce public access prevention on this bucket", accept
it.
If you are asked to "enforce public access prevention on this bucket", accept
it.You can now drag-and-drop your data directly from the browser into the bucket (or click the "upload" button).
Attempting to upload too many files this way can freeze or crash your browser. To avoid that, consider using one of the other methods described in the dataset section. To upload (and delete) items using these, your keys will need write permissions.
Generate credentials
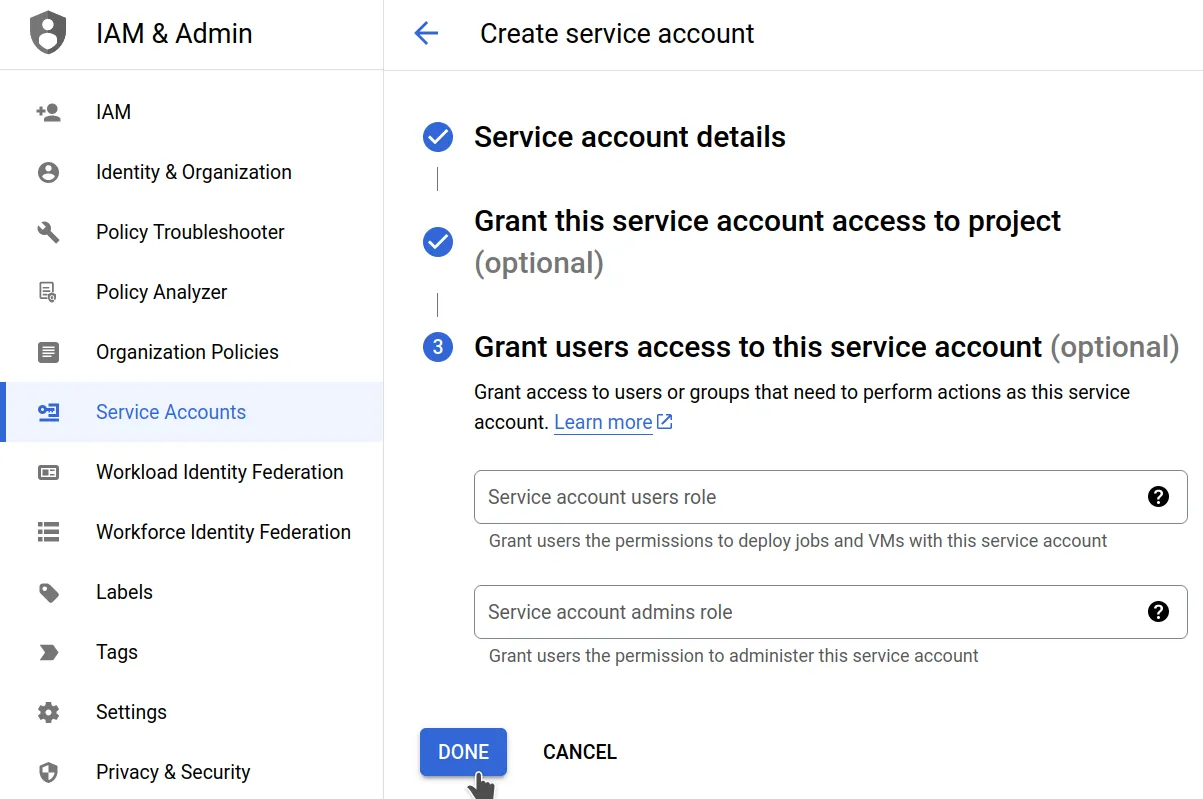
In the Cloud Storage service, go to "settings/interoperability" and, under the "Service account HMAC" section, under the "Access keys for service accounts" subsection, click on "create a key for a service account", and then on "Create new account". That redirects you to the "IAM & Admin" service. Give your service account a
name, leave all other options at their defaults, and click "done".
That redirects you to the "IAM & Admin" service. Give your service account a
name, leave all other options at their defaults, and click "done".Read more about creating service accounts and HMAC keys in the official docs.
 Once you are redirected back, you should see a pop-up with your new service account's
access key and secret keys displayed.
Once you are redirected back, you should see a pop-up with your new service account's
access key and secret keys displayed.
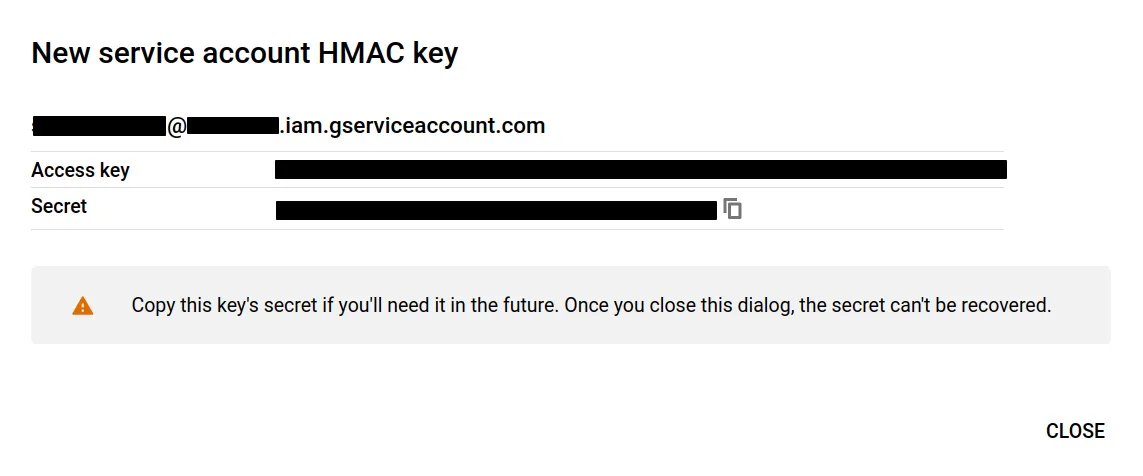 Write these keys down somewhere (or even better, save them in a password manager)
- as the warning says, the secret key will never be shown again once you dismiss
the dialog!
Write these keys down somewhere (or even better, save them in a password manager)
- as the warning says, the secret key will never be shown again once you dismiss
the dialog!
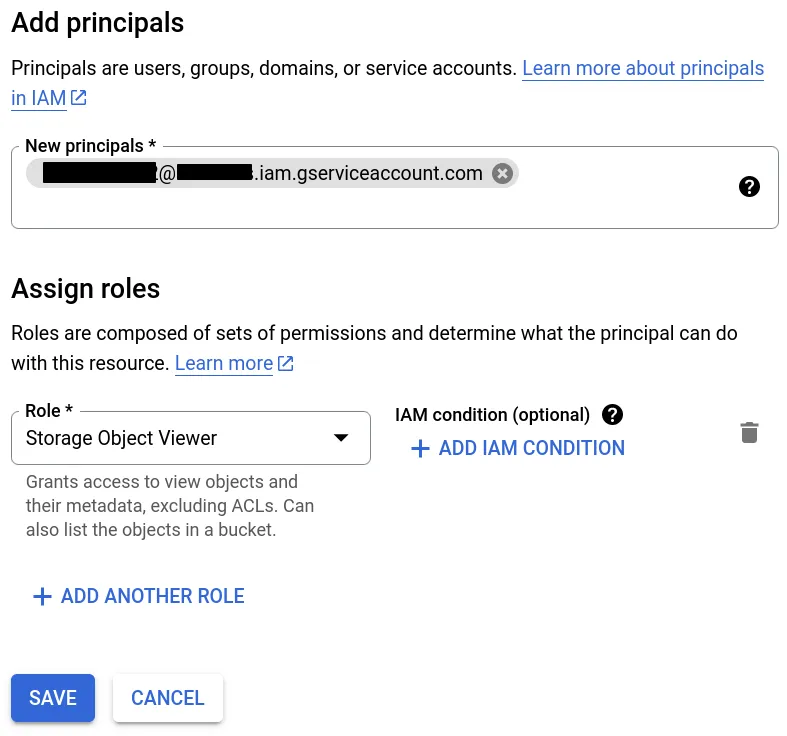
Go back the buckets overview, click on your bucket, go to the permissions tab and click on the "grant access" button.
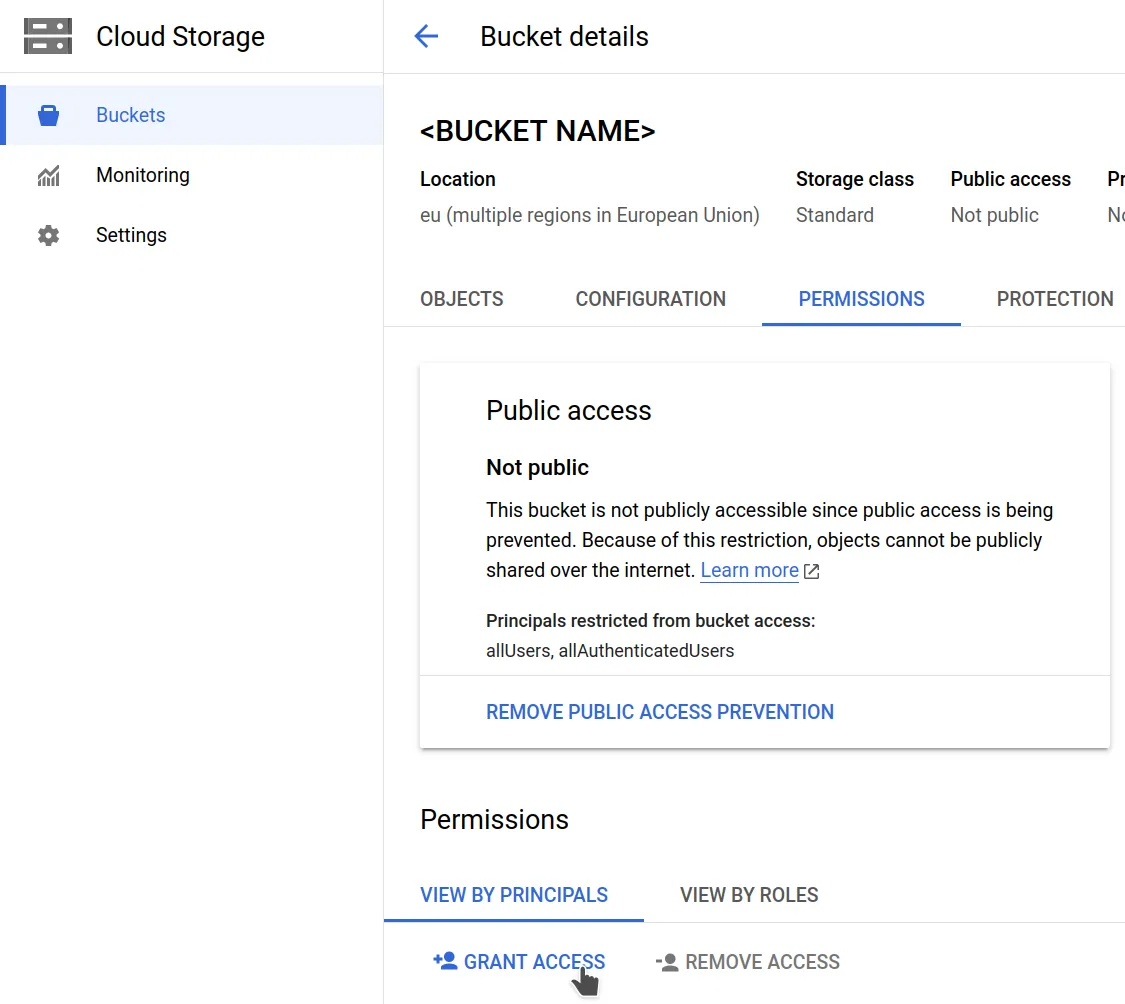 Use your service account's email as the new principal, assign it the "Storage
Object Viewer" role for read-only permissions, or the "Storage Object Admin"
role for read-write, then save.
Use your service account's email as the new principal, assign it the "Storage
Object Viewer" role for read-only permissions, or the "Storage Object Admin"
role for read-write, then save.